The ReciScan Blog
Make Your Cookbook Your Own: A Guide to Interior Design in ReciScan
Explore recipe photo layouts, fonts, colors, printed labels, chapter openers, prefaces, and more for a cookbook that feels like yours.
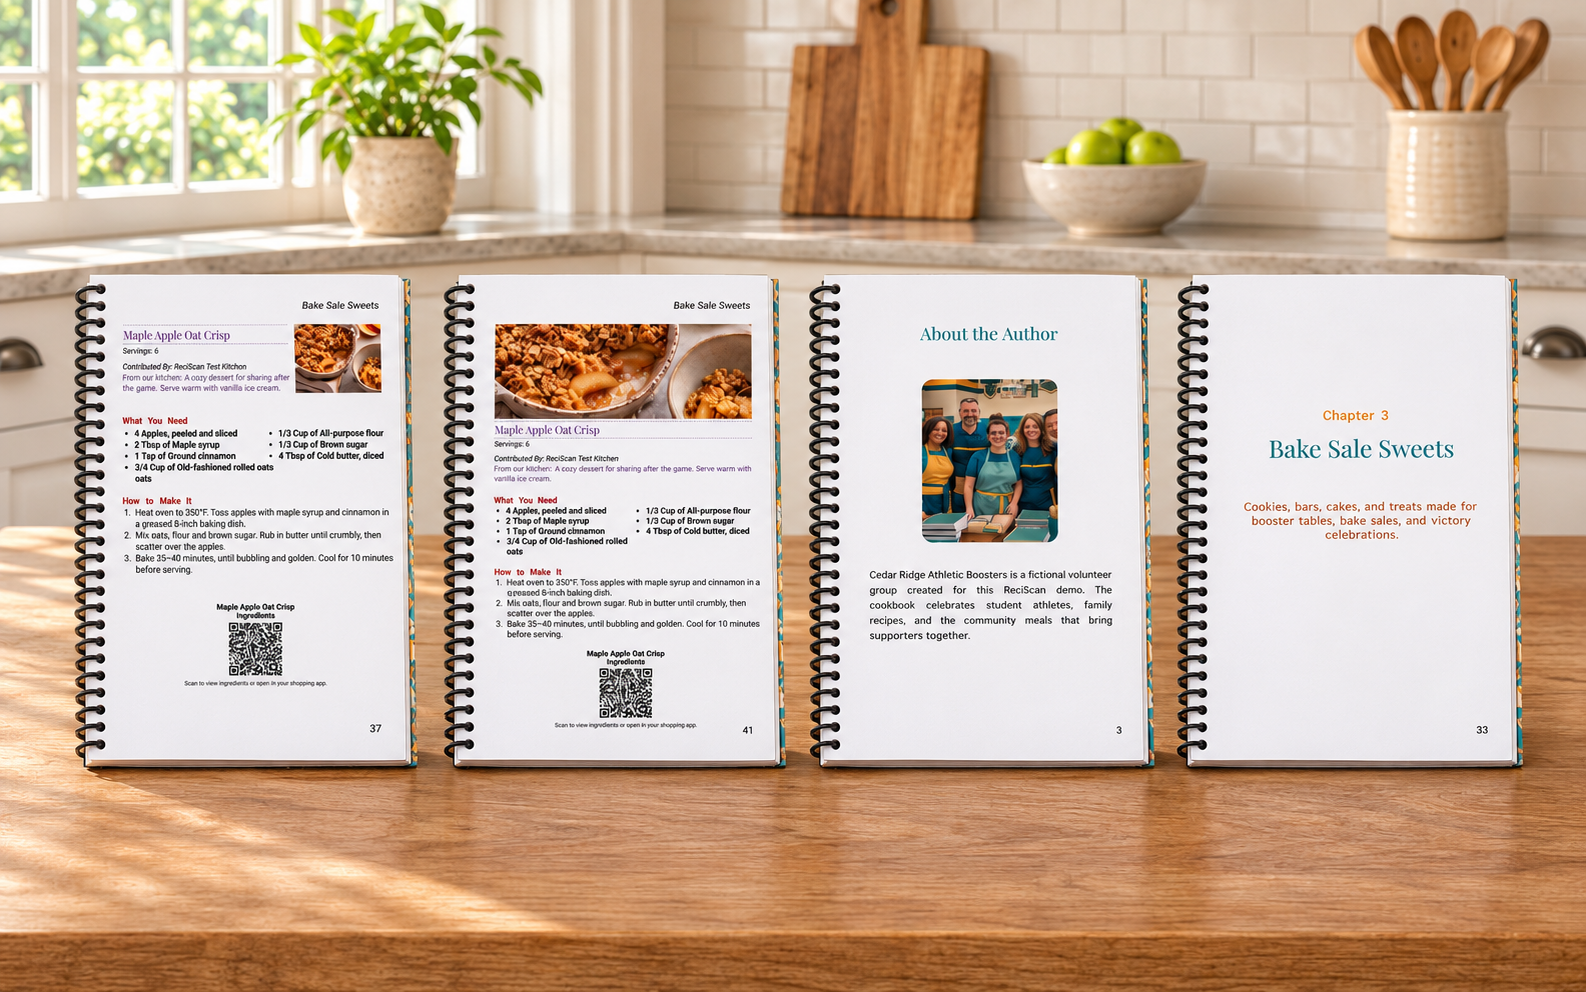
A cookbook’s personality starts before the first ingredient. A welcoming preface, a chapter devoted to game-day favorites, a favorite photograph, and a few well-chosen colors can turn a collection of recipes into a book that feels unmistakably yours.
ReciScan gives you choices for the pages inside your printed cookbook, whether you’re making a family keepsake or a fundraiser. You can make these choices in the mobile app or the web Portal; the controls look a little different, but both offer the design options discussed here. For a cloud cookbook, open the same book on either platform to continue working.
Choose how prominently to show recipe photos
A photograph can be a small visual cue beside the recipe title or the first thing a reader sees. ReciScan offers four recipe photo styles for the book:
- Standard: a larger photo beside the title and recipe information.
- Small: a more compact photo beside the title, leaving more room for text in the header.
- Wide crop: a wide image above the recipe title.
- Full text width: a 4:3 image above the title that spans the recipe text area.
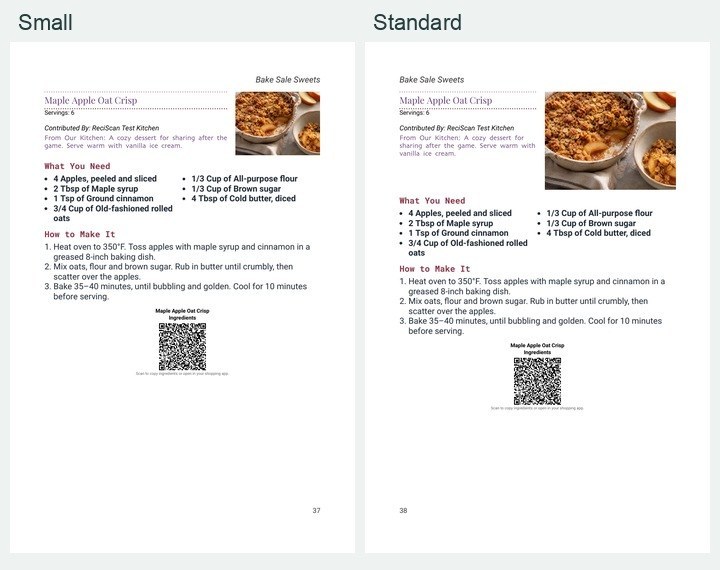
Small and Standard place different-sized photos beside the recipe heading.
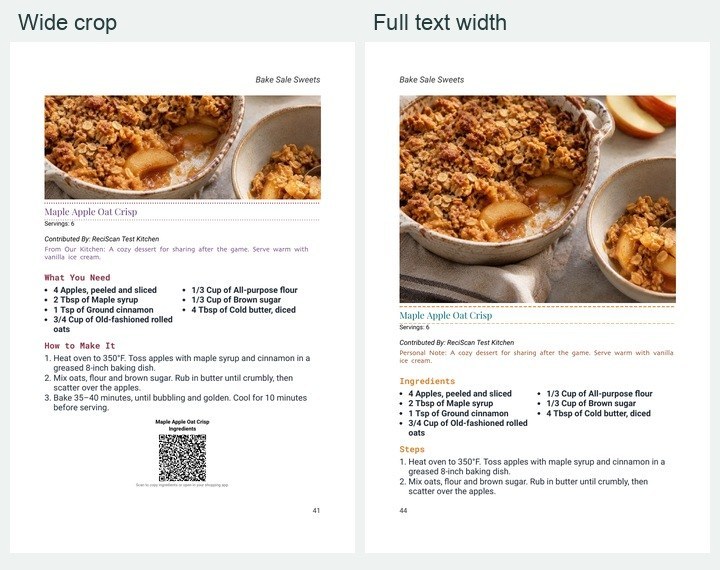
Wide crop and Full text width place the photo above the title. The full-width example continues onto the next page.
Try different styles and prepare a fresh interior preview to see how they look throughout your cookbook. The photo style you choose applies to every recipe in the book that has a photo. A larger photo gives images more prominence, while a smaller one leaves more room for text. The wide choice crops photos differently, so check that the parts you want to feature remain visible. In this example, the small-photo version fits the recipe on one page, while the full-text-width version continues onto the next. Photo size, recipe length and other settings affect page breaks, so review the interior preview before printing.
Give recipe text its own character
Choose fonts and colors separately for recipe titles, headings, recipe text, and personal notes. You can also choose solid, dashed or dotted lines around recipe titles, or remove the lines, and select their color. These settings apply across the cookbook, helping the recipes look like a cohesive collection.
For a fundraiser, try a school color for headings and a readable dark color for the ingredients and directions. For a family book, a more traditional title font and a restrained accent can let the recipes and stories take center stage. Pick a body font that is comfortable to read at the printed size, and look at long recipe names and notes in the interior preview before settling on a combination.
A color interior shows the selected colors; a black-and-white interior renders them in grayscale. Check the contrast in the actual preview, especially for light colors. Changing the interior also affects photographs and custom-page images.
Introduce the people and stories behind the recipes
A preface can welcome readers, explain why the book was made, or thank the families who contributed. An About the Author page can introduce a person, family, school group or organization. Each can include text and a photo, with separate heading and body font and color choices. Preface photo choices include original, text-width and full-page widths, with optional rounded corners; author photos can use an unframed, rounded or circular treatment. You can choose whether each section appears in the table of contents.
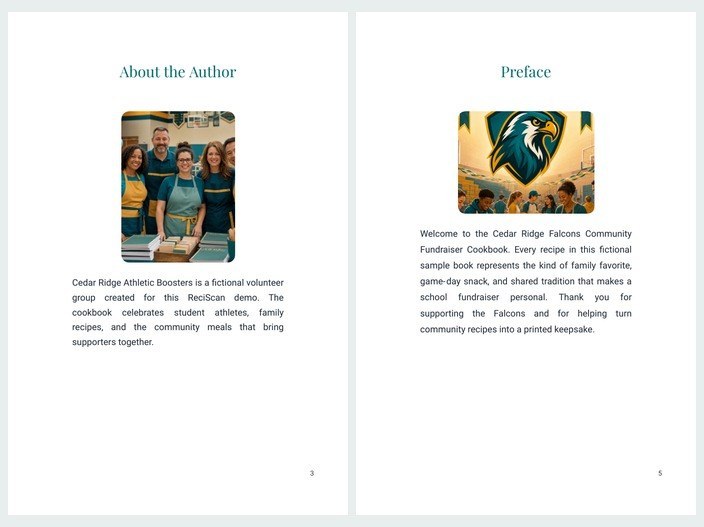
The fictional Cedar Ridge book introduces its volunteer group and welcomes readers with a preface.
A short, specific story often does more than a long introduction: tell readers who gathered the recipes, what the fundraiser supports, or what they will remember about the people who cooked these dishes.
Give each chapter a welcome
Optional chapter opener pages give a section room to breathe before its recipes begin. Add an introduction for each chapter, then choose the fonts and colors used for chapter titles, numbers and introduction text throughout the book. Chapter photos can give each section a distinct visual identity.

Chapter title, number and introduction can each have their own font and color.
Think of the introduction as a little invitation. A breakfast chapter might recall early practices and Saturday games; a family holiday chapter might describe the meal everyone looks forward to. Chapter opener pages are a subscriber feature.
Make printed headings sound like your book
Printed Language & Labels lets you replace selected printed labels with wording that suits your readers. For example, you can change “Ingredients,” “Steps,” “Personal Note,” “Preface,” “Table of Contents,” “Chapter,” and “About the Author.” You can also choose whether ReciScan inserts “of” in ingredient amounts, such as “1 cup of flour” versus “1 cup flour.”
For a Spanish-language cookbook, you might enter “Ingredientes” and “Pasos.” For an English-language family book, “Personal Note” could become “From Our Kitchen”; a fundraiser could use “Our Story” in place of “Preface.” Check each replacement in context, including the table of contents and chapter pages.
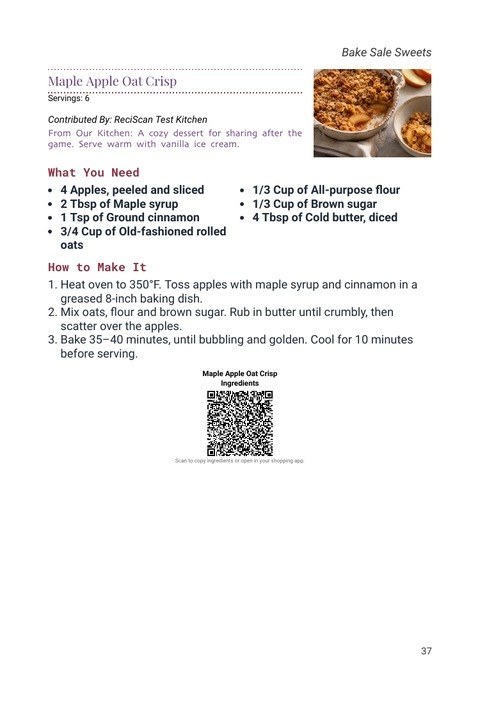
The small-photo example replaces Ingredients, Steps and Personal Note with friendlier wording.
These controls replace selected labels; they do not automatically translate recipes or all text in the book. Enter and review the recipe content and other wording yourself, and check that your chosen font displays every character correctly. Longer labels can change wrapping and pagination. Right-to-left layout is not supported by these settings.
Add a page that is entirely yours
Custom pages make room for a sponsor thank-you, family photo collage, dedication, or other finished design. You can also add a blank page. Place them between book sections and optionally include them in the table of contents. Custom pages are a subscriber feature. For a step-by-step example and image-size advice, see How to Add Photos and Memories to Your Cookbook with Custom Pages.
Preview the book as a reader would
Once you’ve saved your choices, prepare a fresh interior preview and look through the whole book. Check photo crops, readability, chapter introductions, the table of contents, page breaks and the final appearance of colors or grayscale. If you change the book, prepare the preview again. A printed proof is a helpful final check before ordering a larger quantity.
Your cookbook doesn’t need every option turned on. Choose the details that support the recipes and the people behind them, and let the pages tell their story.